How to Deploy a Flask Application on Apache WebServer on Mac
Published on April 27th 2020
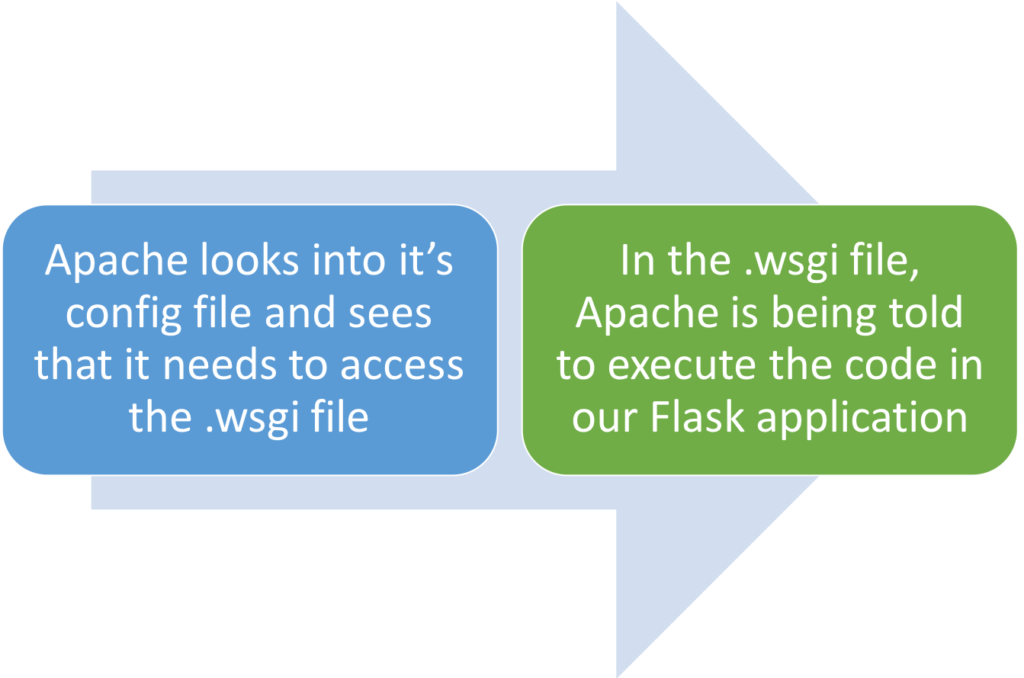
This article explains step by step how to deploy a Python Flask application on an Apache WebServer on Mac. The diagram below explains how the Apache server will work with our code:
Step 1:
Install Flask:
Type this command into your terminal to install Flask on your machine:

Step 2:
Install mod_wsgi:
Type this command into your terminal to install mod_wsgi on your machine:

Step 3:
Create a Flask application:
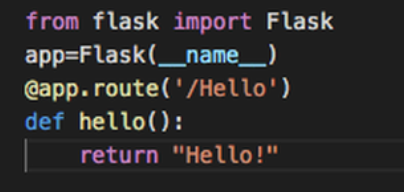
Create a .py file for your Flask application. Let’s name it “Hello_Flask.py” . We also need to make a folder for this file(I named mine “Alaina_code”). Now enter the following code into your .py file:
Step 4:
Create a WSGI file:

In order for the Apache server to understand the code we wrote in “Hello_Flask.py”, we need to make a .wsgi file. Let’s name it “Flsk_config.wsgi”. Put this file in the folder we made in the last step and enter in the following code into it:

Step 5:
Editing and working with httpd.conf:
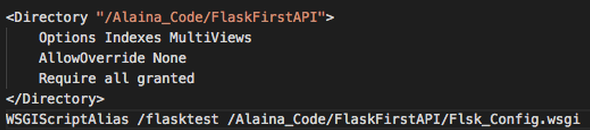
We finally need Apache to recognize the WSGI file we wrote. Apache’s config file(httpd.conf) should be available at this path:‘/etc/apache2’. Open it and enter in the following:

Now you should be able to run your program. To test it, type into the browser:
http://localhost/flasktest/Hello
You should be getting a message like this: